

Macross, an anime that I have enjoyed since 1982 reached its 35th year in 2017 and in 2016, the anime Macross Delta was aired. Prices of Macross toys have also skyrocketed over the years which made me stop buying anything released from the series.
Fate has always a twist to how I would land myself a VF-31J, a 35th Anniversary limited edition piloted by Hayate Immelman, the lead character.

This was picked up at a sale at Takashimaya and it went for $60 and I believe the original price should be $90. Arcadia released the 35th Anniversary valkarie (VF-1J) with the same colour scheme. On its 30th Anniversary, I bought the VF-1J already so I gave this release a miss.
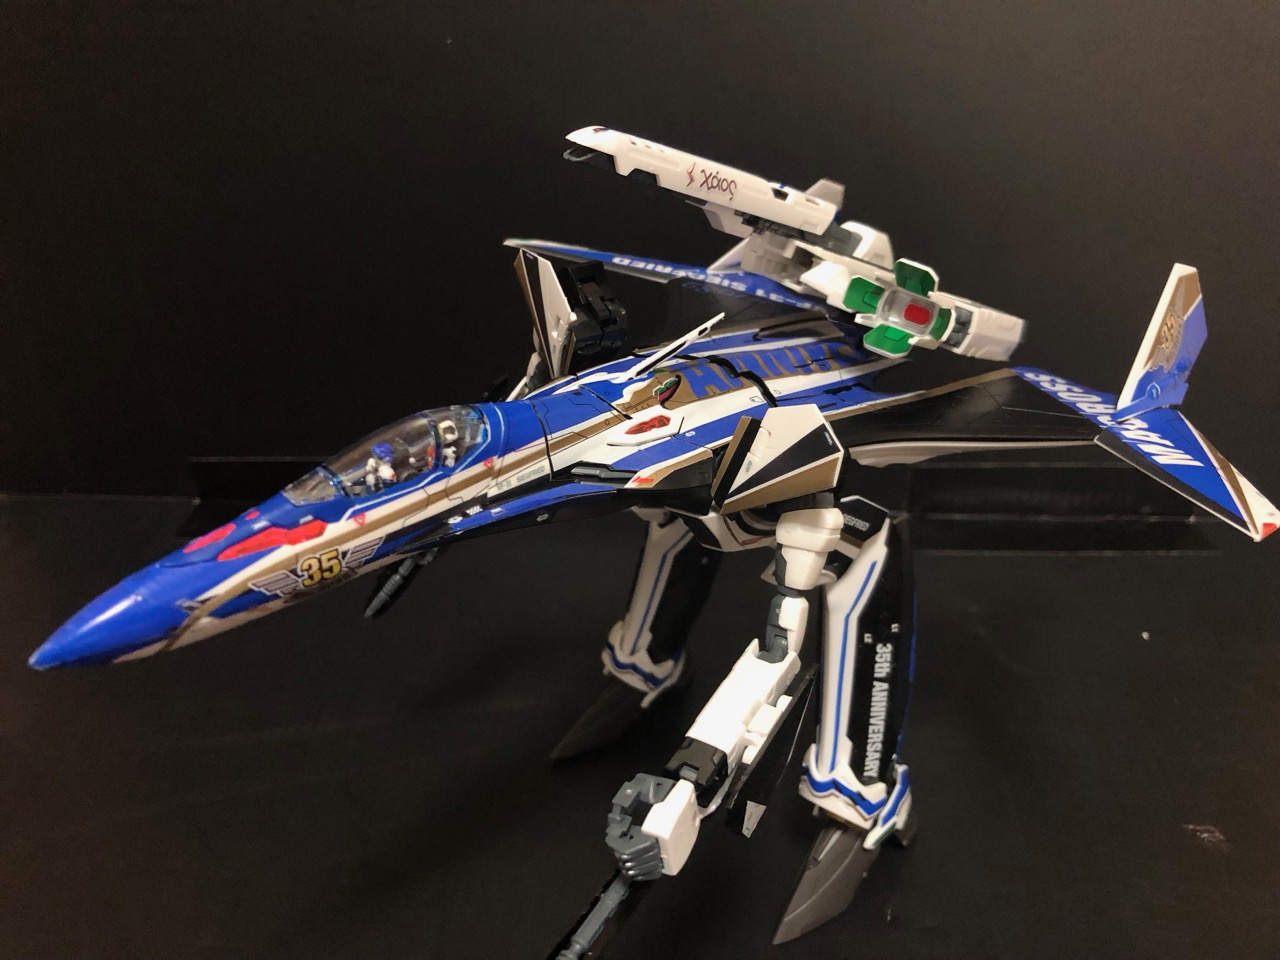
The VF-31 Siegfried grew on me and when I saw this on sale, I'm sold!

I knew what I'm in for when it's a model kit and it always starts with the colourless pilots. With all my markers on hand, I begun painting to the best of what I have and could achieve.

There is a choice of cockpit with single-seater with only Hayate or two-seater with Freyja Wion at the back. Hayate is an interesting character who refused to put the helmet as he dislikes the AI assistance.


At this point, I have already made a mistake.

The stickers on the wings with the 35th Anniversary are one of the largest ones to be applied.

The mistake I mentioned earlier is the 'chest piece' just above the cockpit. It should have been black and not white. Some interesting facts about Bandai's model kit is it is more economical to reuse moulds than to produce new ones, so it is common to have parts that are not meant to be used.

The real problem is removing the stickers and applying it onto the new piece. I mentioned that the stickers are membrane type and once applied, it is very difficult to be removed. I overstretched one of the stickers and am left with the one on the left.

Then I realised on page 32, there is a parts list which tells builders what parts are not be used. Why not on page 1 or 2 or even 3!

 Anyway, back to building and you would have noticed the change of
work area. I had spent the entire day building and had to continue at
night.
Anyway, back to building and you would have noticed the change of
work area. I had spent the entire day building and had to continue at
night.
The next day, building carries on and it was finally done and I bravely transformed it. Bravely as transforming it risk the stickers being torn.

I have also attempted to colour the part with the torn sticker. Not exactly well done but it will do for now.


These are the sticker sheets. The only ones not used are those stickers below meant for the cockpit which I painted it instead.


The most intricate part of the stickers are the ones that made up the word 'Anniversary'.


For the purpose of this entry, I shall take the risk to transform it again.


There are many other parts which I had painted. The daggers hidden in the forearm are painted else it would be just plain black.


Breaking is but part of this hobby and repairing is a needed skill. In my rush, I had also cut the pegs of the open palms.


Articulation is limited but enough for good poses. After this, I had to scour the open market for Chogokin DX versions of the VF-31.

This was picked up at a sale at Takashimaya and it went for $60 and I believe the original price should be $90. Arcadia released the 35th Anniversary valkarie (VF-1J) with the same colour scheme. On its 30th Anniversary, I bought the VF-1J already so I gave this release a miss.
The VF-31 Siegfried grew on me and when I saw this on sale, I'm sold!

I knew what I'm in for when it's a model kit and it always starts with the colourless pilots. With all my markers on hand, I begun painting to the best of what I have and could achieve.

There is a choice of cockpit with single-seater with only Hayate or two-seater with Freyja Wion at the back. Hayate is an interesting character who refused to put the helmet as he dislikes the AI assistance.


Another pain to building a model kit other than painting is the application of stickers. There are 174 stickers to apply and some needs to be done when certain sections are completed. Bandai provided 2 sets of stickers; the water slide and the membrane type. I chose the membrane after reading reviews that the water slide ones do not last long and tears easily when dried.


At this point, I have already made a mistake.

The stickers on the wings with the 35th Anniversary are one of the largest ones to be applied.

The mistake I mentioned earlier is the 'chest piece' just above the cockpit. It should have been black and not white. Some interesting facts about Bandai's model kit is it is more economical to reuse moulds than to produce new ones, so it is common to have parts that are not meant to be used.

The real problem is removing the stickers and applying it onto the new piece. I mentioned that the stickers are membrane type and once applied, it is very difficult to be removed. I overstretched one of the stickers and am left with the one on the left.

Then I realised on page 32, there is a parts list which tells builders what parts are not be used. Why not on page 1 or 2 or even 3!


The next day, building carries on and it was finally done and I bravely transformed it. Bravely as transforming it risk the stickers being torn.

I have also attempted to colour the part with the torn sticker. Not exactly well done but it will do for now.


After 2 days of work, it is done and I am very pleased with the overall craftsmanship.


These are the sticker sheets. The only ones not used are those stickers below meant for the cockpit which I painted it instead.


The most intricate part of the stickers are the ones that made up the word 'Anniversary'.


For the purpose of this entry, I shall take the risk to transform it again.


There are many other parts which I had painted. The daggers hidden in the forearm are painted else it would be just plain black.

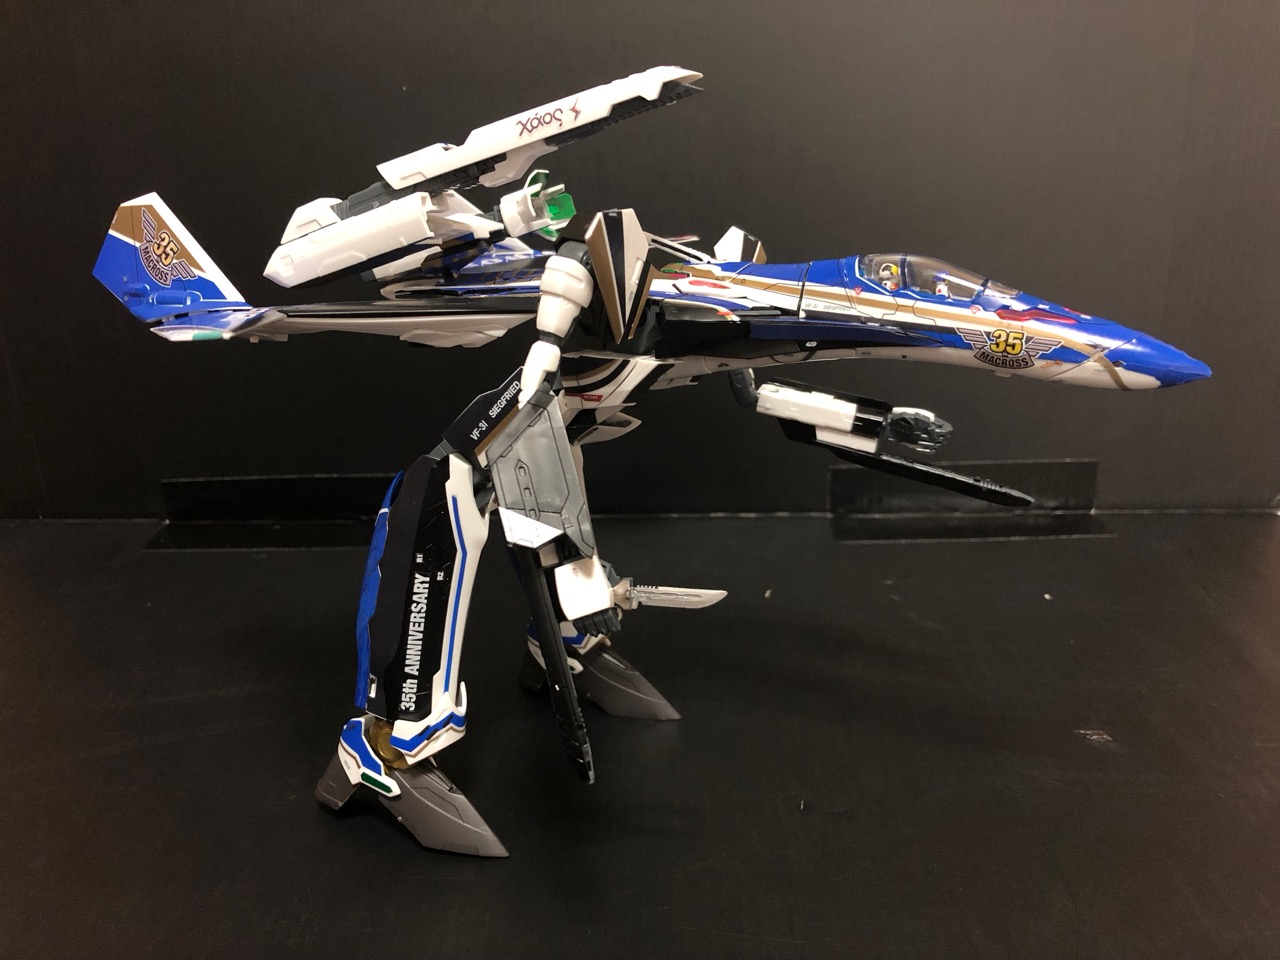

Breaking is but part of this hobby and repairing is a needed skill. In my rush, I had also cut the pegs of the open palms.


Articulation is limited but enough for good poses. After this, I had to scour the open market for Chogokin DX versions of the VF-31.
5 comments:
Come check out my vintage Macross stuff.
You have nice stuff.
So the stickers are.... sticker, not water decals?
Ok! What's your link?
No. It's the membrane type. Stretchy, like water slide but need not remove by soaking in water.
Post a Comment