
I was introduced to this only recently when Youtube surfing. This is a bootleg product of the 2017 Metal Build version which I did not know of at all. I would have purchased it and not go through the torture of building this kit. This is at 1/100 scale and it's equivalent to Bandai's Master Grade.

Daban supposedly had been sued by Bandai in 2018 and had an injunction to stop it from producing any more Gundam kits. However, Daban products are still widely available online. Prices varied and you need to be discerning about where and what you buy. This model's first run had wrong colour issue with the parts on the Powered Red arms and I had to make sure I get the right ones before making the purchase.

Then when the box arrived, the next thing is to make sure is all the runners are there before opening them. Once opened, no refunds would be entertained and I had to keep my fingers crossed.
The packaging as seen above is an unassuming huge box and there is no instruction manual which you need to source for it online. A water slide sticker sheet is provided but it's not complete if you like the kit to look authentic.

First is to print and get the instruction manual ready and it's time to start work. I took about 2 to 3 hours each day and I completed the kit in 8 days. Daban kits are not as well-made as Bandai and lots of skills, patience and tools are needed to get this done well. There are also issues with the accuracy of the instructions and also some parts have no instructions and you will just have to figure your way out.

However, I have to say that Daban is more generous in the use of multiple colours in a single runner and that would drive up the production cost.


It's been a while since I last build a MG and couldn't remember if there are so many small parts. When I say small, they are really tiny. I think Daban took the effort to produce separate colour pieces which I appreciated but fixing them can take a toll on the eye and fingers. Have the right tools for this kit is my advice.

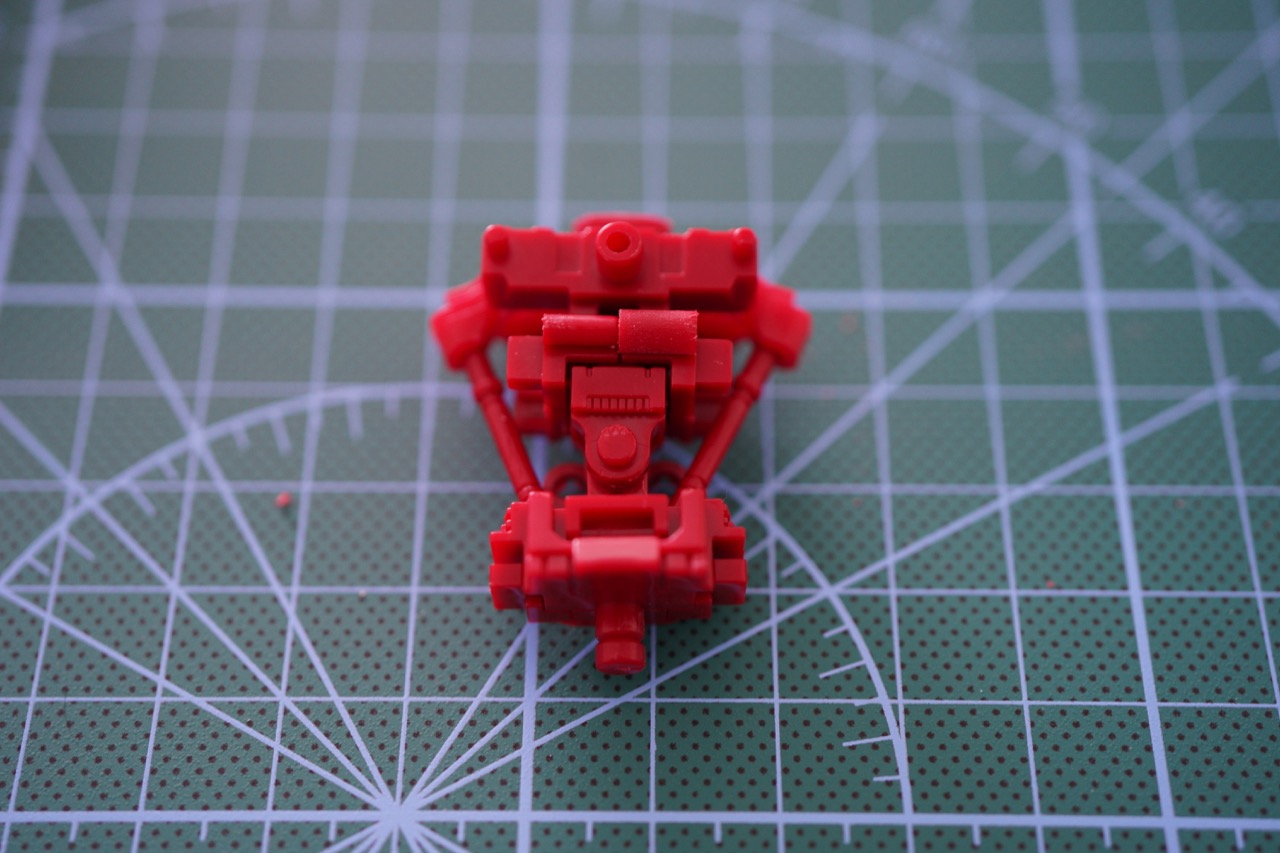
The finished Head which looks pretty good.


I mentioned for this kit, skills, patience and tools are needed as there seems to be more work needed. Notice the part above (on the right) that there is an extension of the gate which needs to be cut. I have cut the one on the left (with the nub mark).

Another issue I mentioned is inaccurate instruction which is seen above, It's mentioned 9 while on the runner is 6.

Day 2 and the upper torso is completed.


An example that the gate extension will give problem is seen above. Unless that is cut, the pieces would not snap together seamlessly.

An example of detailed small coloured parts as seen above. The right front skirt is made up of 4 moulded parts put together.

Above, the number of gate extensions I need to cut and this is just for one part of the kit.


Day 4 and I have completed the Red Astray.


I have coloured the hands but realised the fingers are not entirely white. Will have to do something about it later.

No comments:
Post a Comment